
Hey there!
TUTORIAL TIME!
So for my Pop-Up this August, I wanted to create a display that would be inexpensive, lightweight, and showcase all 70-ish of my city prints in a clean, attractive way. Easy peasy. HAHA. NOT. Lets start at the beginning. I'll give you the abridged version, I promise.
My plan started out simple enough: I wanted risers and couldn't find what I was looking for online. I didn't want to spend a ton of $$ on fancy bookshelves or display towers, and even if price wasn't an issue, I didn't want to buy a bunch of stuff that I would just need to store in my house. Enter: My Original Plan. When I interviewed for the Pop-Up Space, I included some proposal sketches of my space. The "Riser Wall" as it would come to be known, was pitched to look like this:

I told the lovely folks at the Downtown Memphis Commission that I could create the risers using wood boards and cinderblock, and if it wasn't a good look, I would throw a huge tablecloth or other piece of fabric over it. They were on board. Everyone was happy.
Enter sweet, wonderful boyfriend jim. About a week before the pop up launches, I tell him that we need to go to Home Depot and then Lowe's to scope prices on cinderblocks and wood for the project. Maybe spray paint, too, in case it didn't look great. That was what I thought would be my biggest decision/pain point: whether or not to spray paint it. Boy was I wrong.
Here's the fun thing about cinderblocks: they are super cheap, super simple, and SUPER FREAKING HEAVY. As Jim and I stood in front of the cinderblocks, we did some math and quickly realized we would need about 70 cinderblocks for my design. Ha. Yes. SEVENTY. and here's the thing: i was struggling to lift one. ONE. There was just no feasible way that I could move SEVENTY out into my car, to my condo, back to my car, and into the storefront, and then out of the storefront and....where? where would they go when I was done? Onto my patio? Probably. We asked about delivery (it was about $140 and still left the and-what-about-after issue) and then decided to move on.
Crickets. We didn't know what to do.
We started thinking about "in an ideal world" and i told him that I loved the diy pipe furniture aesthetic, and thought it would complement nicely against my super busy, colorful artwork. We headed over to the plumbing department. (For those unfamiliar, this is the vibe i was talking about:)

We started playing with the pieces we would need and figuring out which fittings would be best...and doing some more math. We pretty quickly realized that this would get expensive, and fast: iron pipe is awesome and inexpensive for small projects, like lamps, but for 23-foot displays, would skyrocket. I don't remember our exact math, but I think each set of risers (and i needed 3 sets) would end up at around $400. Not out of the question, but more expensive than I really wanted.
Then we decided to try something kind of funky: painted PVC pipe. Cheap? Check. Lightweight? Check. Attractive? Time would tell.
We made plan after plan, sketched out about a trillion different designs, did lots of math, price-checked all over Memphis, I cried on my kitchen floor, once, and we got to work.

We used 1-ft pieces and 5-ft pieces to complete the stairstep design. We had three kinds of connector fittings: a 4-way cross piece, a 3-sided elbow, and 3-sided T piece. We assembled them in my courtyard and much to our relief, they STOOD!

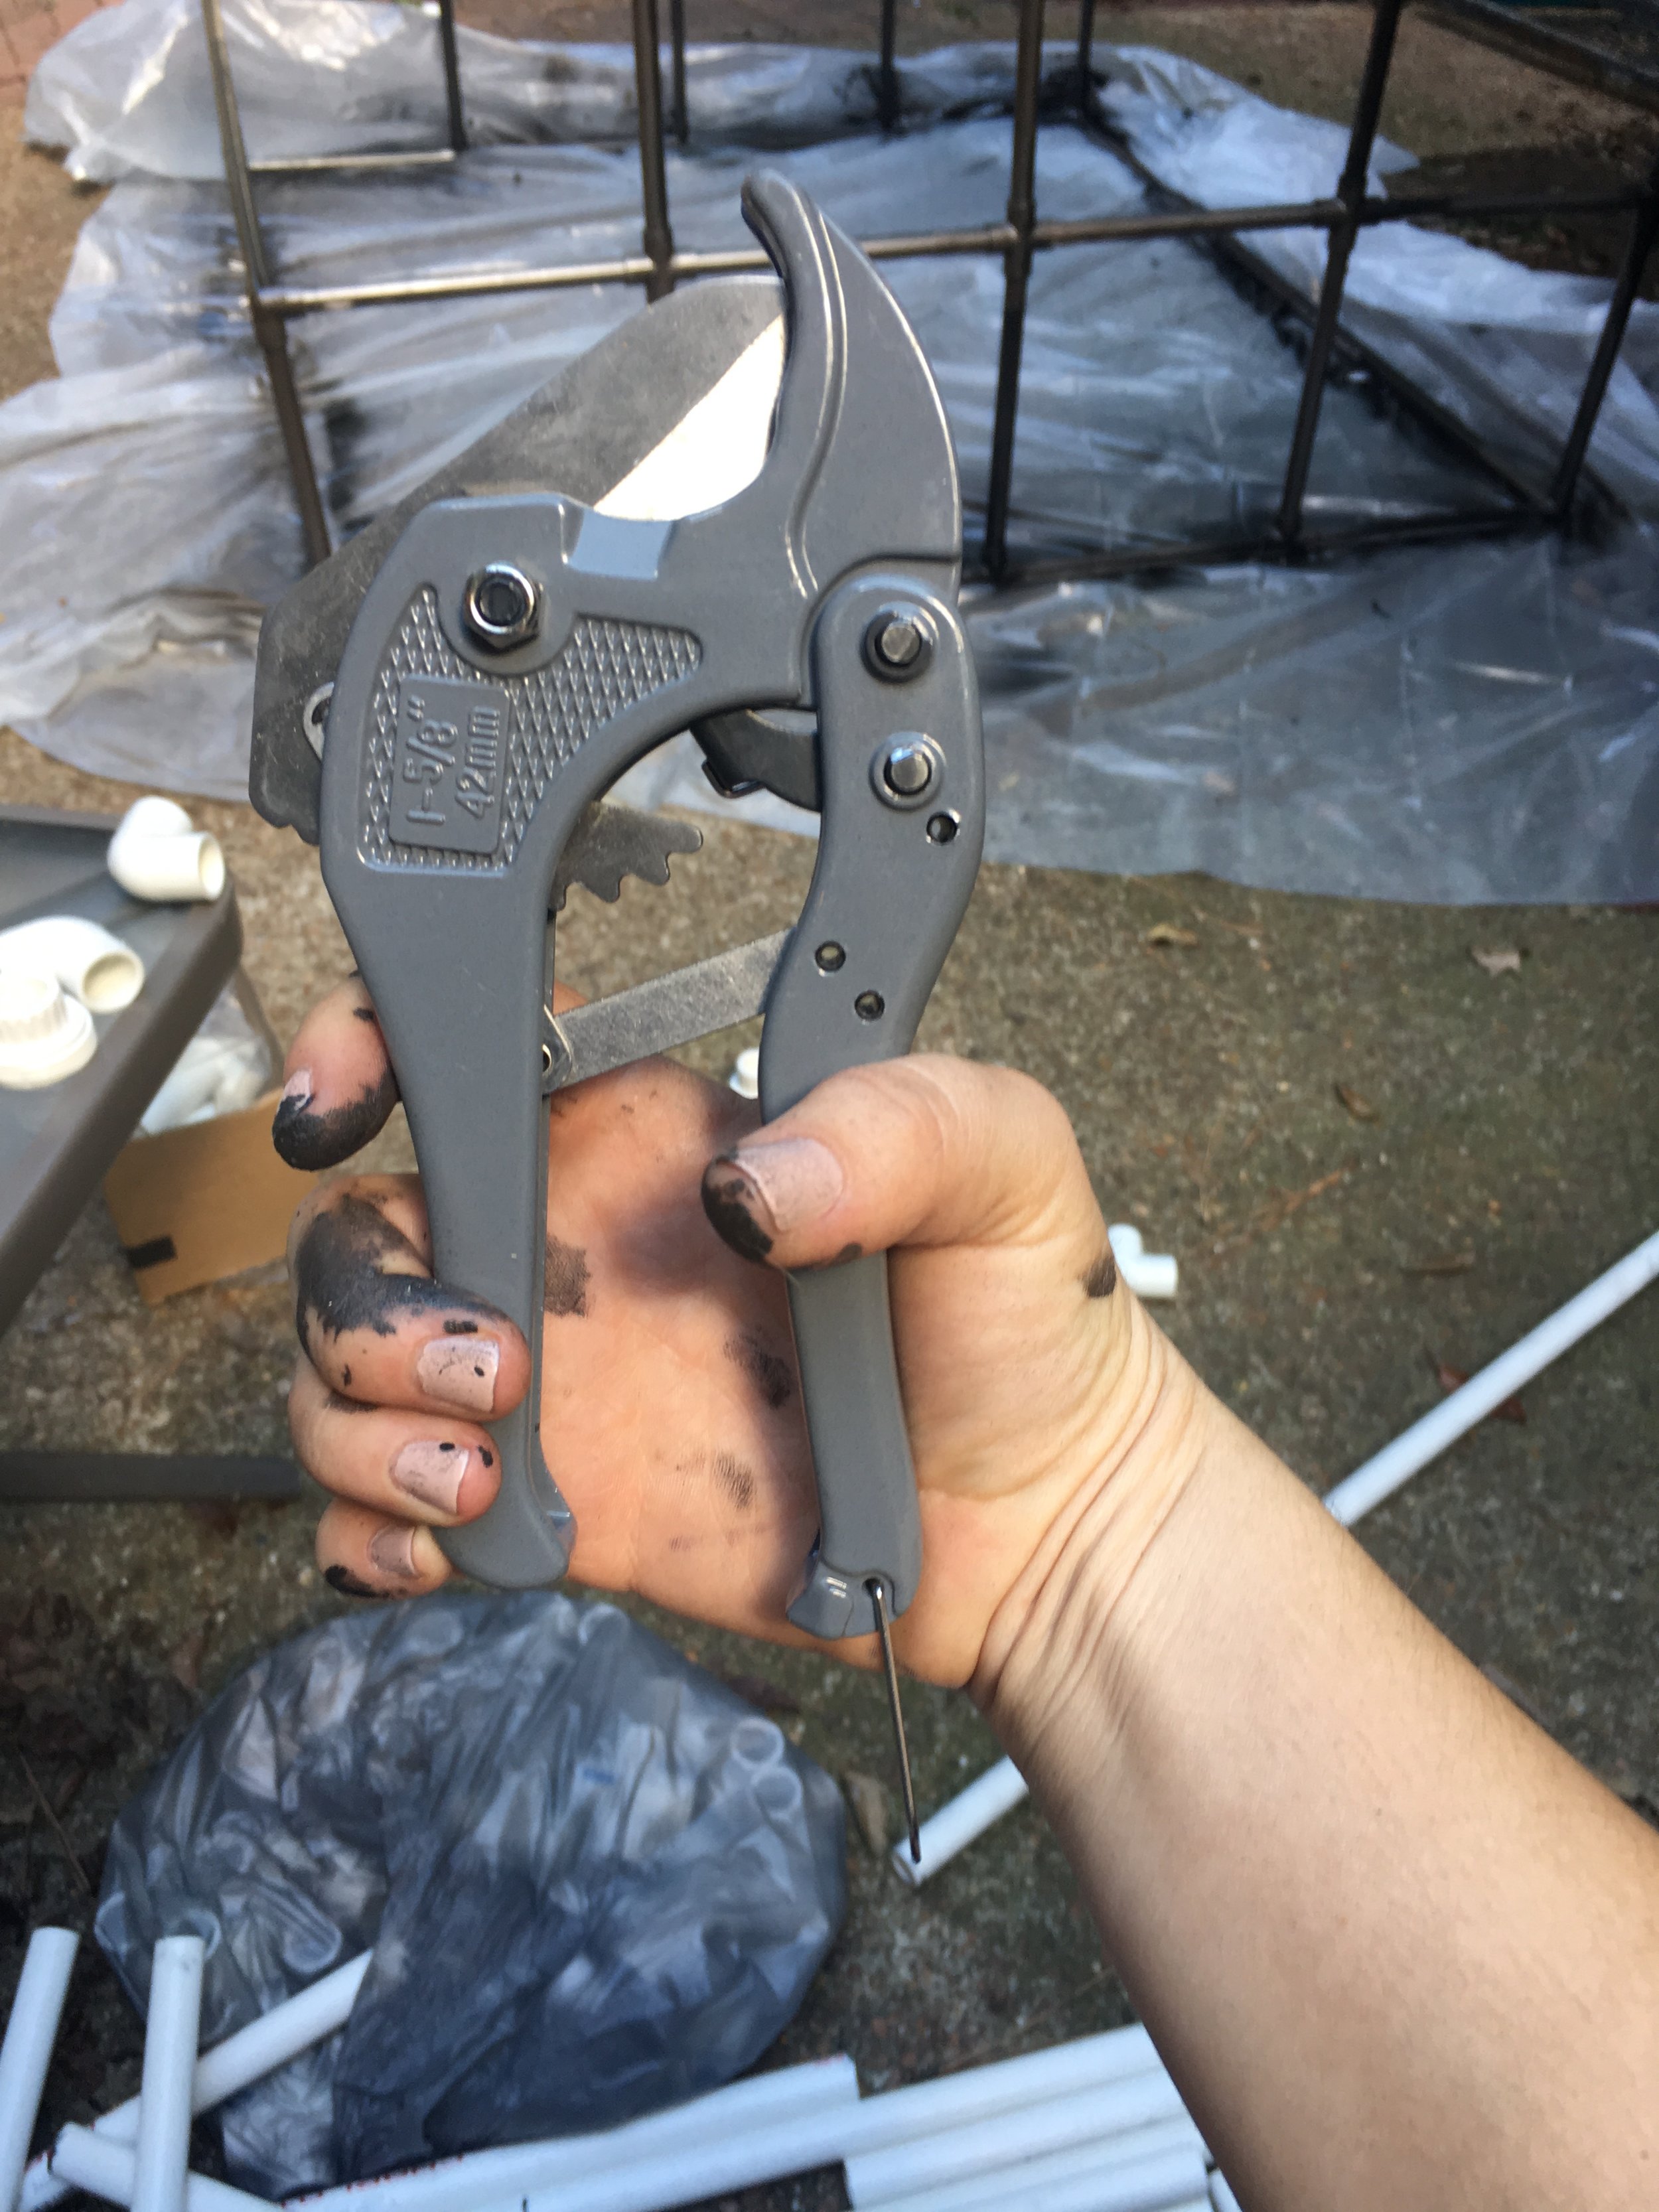
This tool (PVC Pipe Cutter) became literally our best friend as we cut 5 and 10 ft pieces of PVC into 1ft segments.
We assembled all three of the risers, painted them, and then de-constructed them to load them into the Uhaul and get them downtown. Once downtown, we touched up every set of risers and used a hammer to tighten every joint.
We used Rustoleum Hammered Black Spray Paint to get the iron pipe look that we wanted.

gotta be ugly before it gets pretty, right?

ASSEMBLED!!


they worked like a dream!!


huge enormous probs to my sweet and patient Jim Bugg for dealing with me so patiently and basically executing this project himself.
Photos: Sean Flowers Photography